

The loading dock is booked, the retired laptops are stacked on a pallet, and everyone wants the equipment gone before the next deployment arrives. That's where weak preparation causes trouble. Those computers may still contain employee records, customer information, source code, saved credentials, recovery tokens, or encryption keys. A recycler can process the hardware responsibly, but your organization remains responsible for controlling the equipment until the handoff is documented.
How to prepare computers for recycling is therefore an IT asset disposition workflow, not a quick factory reset. Inventory every device, select a defensible sanitization method, remove its digital identities, identify battery hazards, and preserve evidence through pickup and final disposition.
Table of Contents
- What Is at Stake When Retired Computers Leave Your Building
- Build the Asset Inventory and Staging Area First
- Match NIST Sanitization Methods to Each Drive Type
- Decommission Accounts, Licenses, and Mobile Devices
- Labeling, Packaging, and Transport Logistics
- Certificates and Compliance Documentation
- Choosing a Certified ITAD or Recycler
What Is at Stake When Retired Computers Leave Your Building
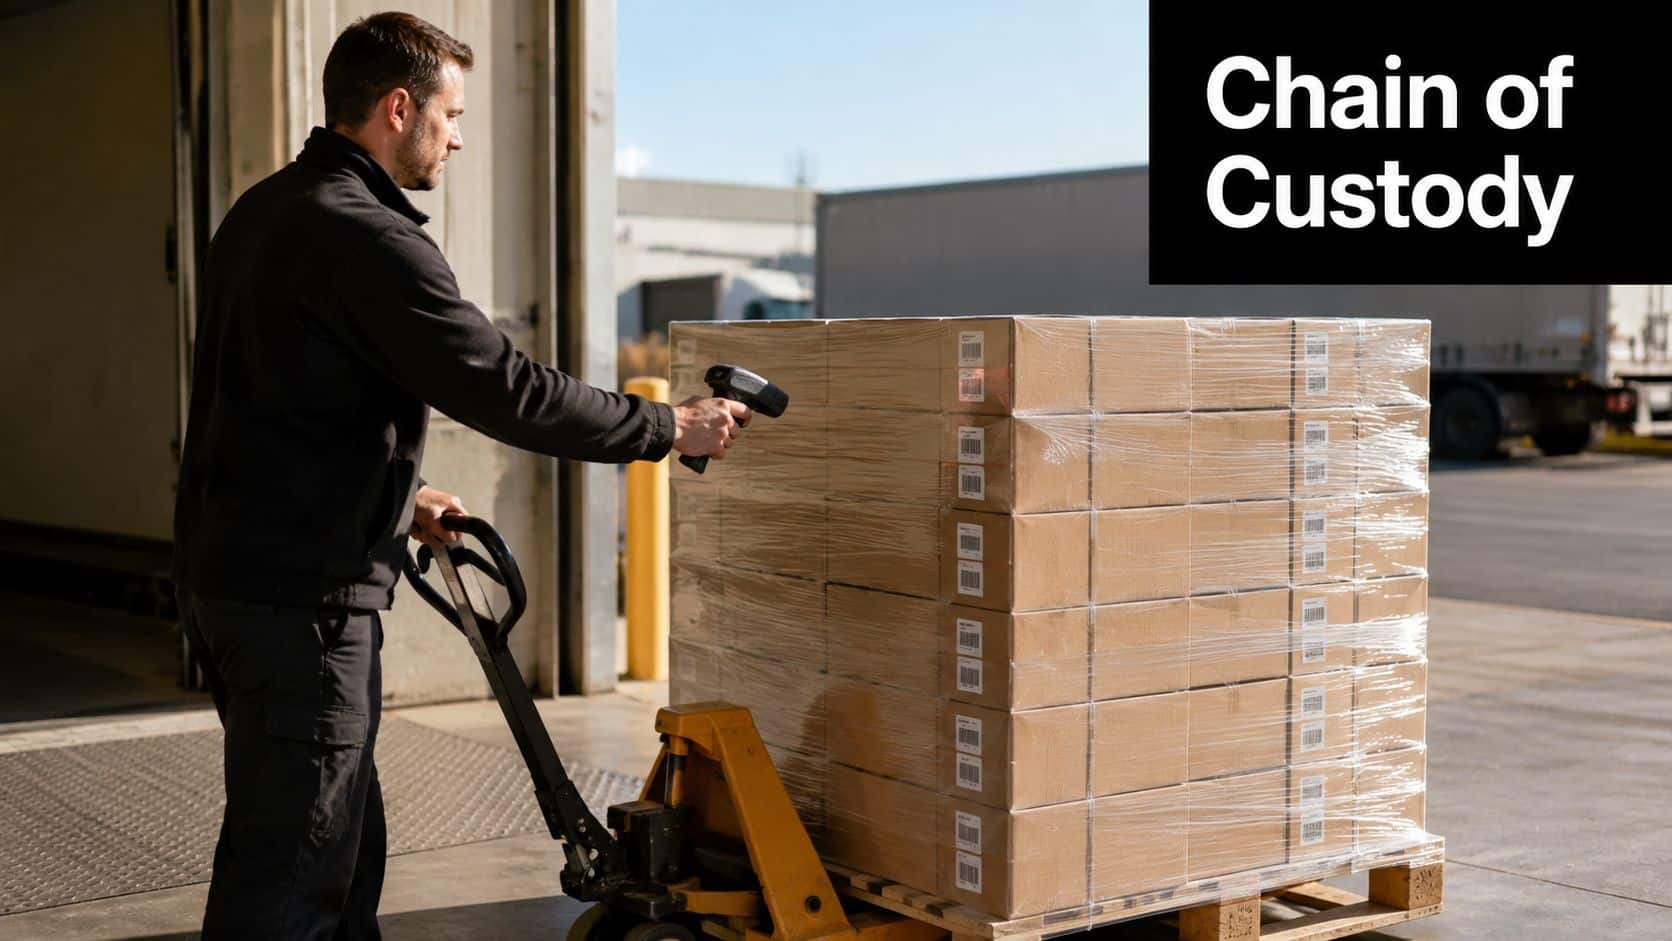
A pallet of end-of-life laptops looks harmless until the technician scans the first serial number. One forgotten device may still be connected to Microsoft Entra ID. Another may contain a BitLocker recovery key, an email cache, or a browser profile with access to finance and collaboration tools. A third may have a swollen lithium-ion battery hidden beneath the case.
The risk changes the moment that pallet leaves your controlled space. A missing serial number makes it difficult to prove which device was processed. An undocumented transfer makes it difficult to establish who had custody. A generic statement that equipment was “recycled” says nothing about whether the data-bearing media was wiped, purged, or destroyed.
The Global E-waste Monitor 2024 recorded 62 billion kg of electronic waste in 2022, equal to 7.8 kg per person, while only 22.3% was formally collected and recycled in an environmentally sound way. The same report estimated that approximately US$62 billion in recoverable natural resources went unaccounted for. That gap makes documented preparation important for both security and material recovery.
Three risks that preparation controls
- Data exposure: Deleted files and factory resets may not provide the assurance your policy requires, especially on modern solid-state storage.
- Regulatory liability: The FTC Disposal Rule took effect on June 1, 2005 and requires reasonable measures to protect consumer information during disposal, including erasure or destruction of electronic media so the information can't practicably be read or reconstructed. See the FTC Disposal Rule requirements for electronic media.
- Physical hazards: Lithium batteries can be damaged by crushing or puncture, while CRT displays and other legacy equipment require controlled recycling routes.
For a practical foundation, review what IT asset disposition means for business equipment. Preparation is the evidence that lets your organization explain what happened before, during, and after pickup.
Build the Asset Inventory and Staging Area First
Don't start with the wipe. Start with the inventory.
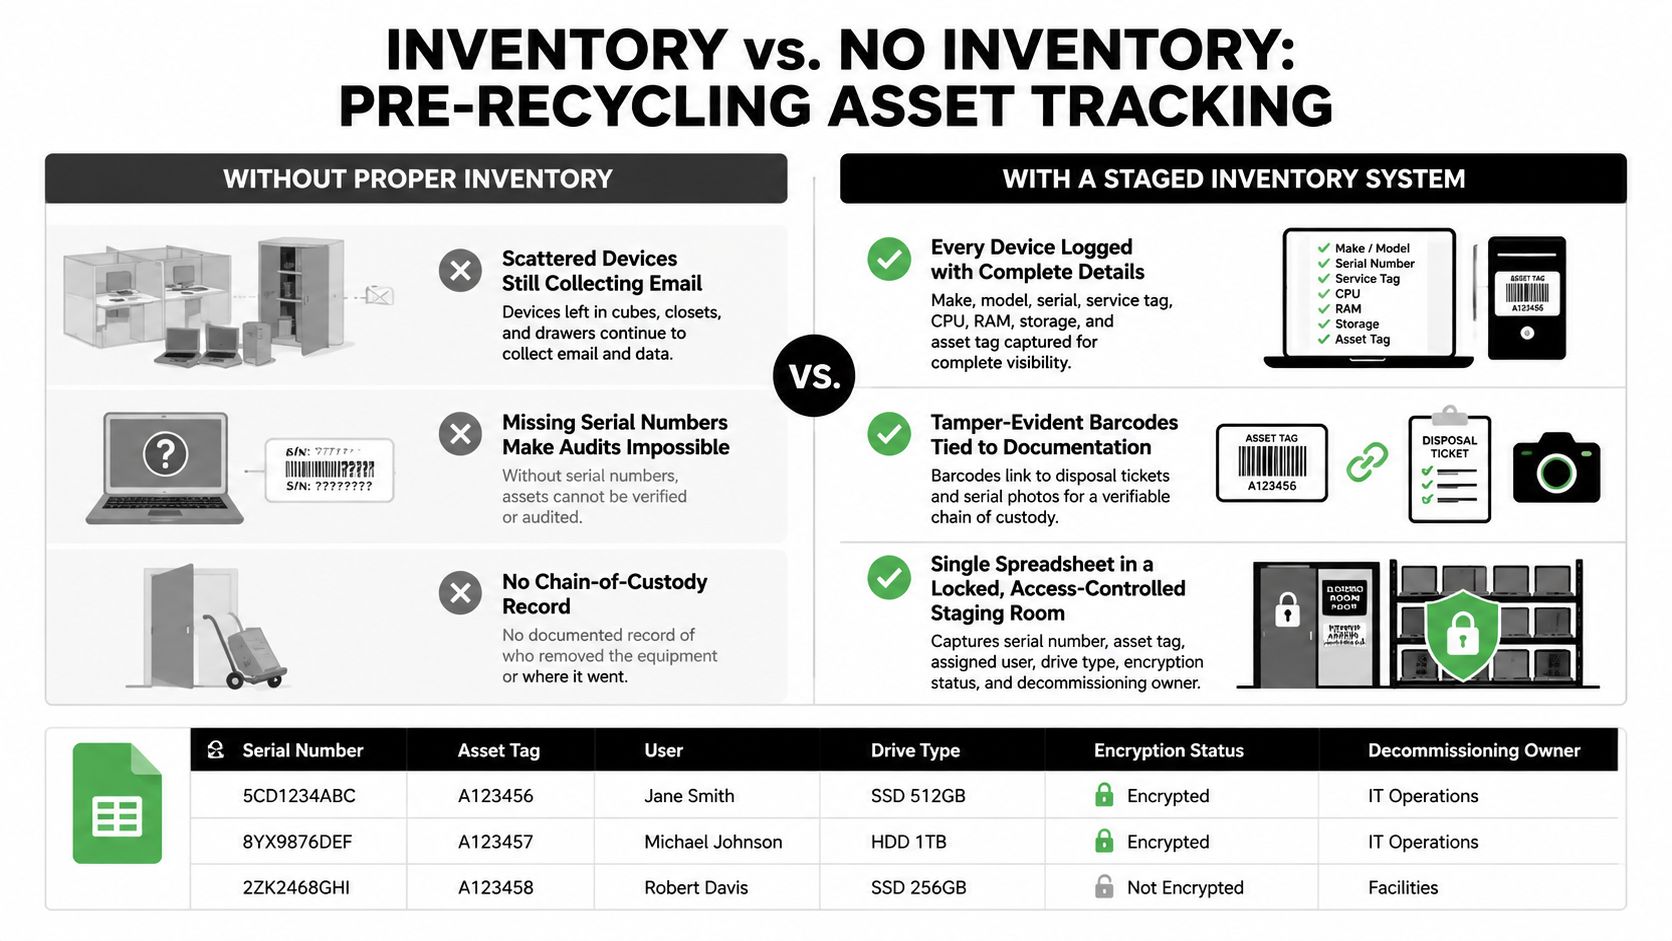
Your team needs one authoritative record for every computer, monitor, server, tablet, and storage device entering the disposition process. Capture the manufacturer, model, service tag or serial number, processor, memory, storage capacity, storage type, asset tag, assigned user, and current location. Then reconcile those records against the CMMS, procurement system, or fixed asset register. Missing equipment should surface before the recycler arrives, not after a certificate fails to match your records.
Move retired equipment into a locked, access-controlled staging area. Leaving devices under desks or in a closet creates uncertainty about who can access them and whether a machine was added or removed without authorization. Keep the staging area separate from active inventory, and restrict access to the personnel responsible for decommissioning.
Use a single source of truth
Assign each device a tamper-evident barcode or serialized security tag linked to a disposal ticket. Photograph the manufacturer's serial label before the device is moved. Record the requestor, pickup date, data classification, required sanitization method, decommissioning owner, and intended destination.
A simple inventory can use the following structure:
| Field | Purpose | Example |
|---|---|---|
| Serial Number | Identifies the manufacturer record | Manufacturer serial |
| Asset Tag | Connects equipment to the internal register | IT-RET-001 |
| Assigned User | Shows the last accountable custodian | Finance workstation |
| Drive Type | Determines the sanitization path | NVMe SSD |
| Encryption Status | Records whether encryption is confirmed | BitLocker enabled |
| Decommissioning Owner | Names the person accountable for completion | IT operations lead |
The inventory isn't paperwork for its own sake. It lets your team identify a missing laptop, separate a failed drive from reusable equipment, and match each certificate to a physical asset. Beyond Surplus describes related inventory optimization services for organizations that need help organizing equipment before disposition.
Operations rule: If a device isn't on the manifest, it isn't ready for pickup.
Match NIST Sanitization Methods to Each Drive Type
NIST SP 800-88 defines three media sanitization outcomes: Clear, Purge, and Destroy. The correct choice depends on the storage technology, the data classification, the condition of the drive, and whether your team can verify the result.
Clear uses software techniques to remove data from user-addressable storage. It can fit a spinning SATA hard disk containing lower-risk information when the drive is functional and the organization can verify the process. It isn't the default answer for every device.
Purge applies stronger techniques, such as cryptographic erase, appropriate Secure Erase commands, or degaussing for suitable magnetic media. It is generally the more defensible route for SSDs, NVMe drives, self-encrypting drives, and regulated records because modern storage can contain remapped or hidden areas that a basic overwrite may not address. NIST's three-part framework is summarized in this explanation of NIST 800-88 data destruction standards.
Destroy physically renders the storage medium unusable through controlled shredding, disintegration, or another approved destruction process. Choose it when the drive is failing, the encryption key is unknown, the device contains exceptionally sensitive information, or your policy requires physical destruction.
Choose by drive technology
| Drive Type | Recommended Method | Notes |
|---|---|---|
| Spinning SATA HDD | Clear or Purge | Use Clear for lower-risk data when verification is available. Select Purge or Destroy for regulated or unknown data. |
| SATA SSD | Purge or Destroy | Wear leveling and remapped areas make a basic software overwrite a weak choice. |
| NVMe SSD | Purge or Destroy | Use a controller-supported secure erase or cryptographic erase, with verification and records. |
| Self-encrypting drive | Purge | Cryptographic erase can be appropriate when the encryption architecture and key state are known. |
| M.2 module | Purge or Destroy | The form factor doesn't determine the method. Identify whether it contains SSD or other flash storage. |
| eMMC storage | Purge or Destroy | Embedded flash isn't removable in the same way as a standard drive, so use a verified device-level method or destroy the board. |
Apply a strict decision rule
Use Destroy for classified data or an unknown encryption key. Use Purge for regulated or highly sensitive information. Use Clear only when the drive type, risk level, and verification process support it.
A factory reset may remove user access, but it doesn't automatically prove that every data-bearing area was sanitized. Teams seeking practical information about information security at our facilities should also keep the principle in view: physical access control and documented handling matter alongside technical erasure.
Decommission Accounts, Licenses, and Mobile Devices
A wiped computer can still be an active identity. Storage sanitization removes information from media, but it doesn't necessarily remove the device from cloud directories, endpoint consoles, licensing portals, or remote-management systems.
Before the machine goes offline permanently, verify that required files and backups are available. Check local folders, synced cloud locations, email archives, browser profiles, and application data. Don't assume OneDrive, Google Drive, Dropbox, or another synchronization service completed successfully just because the icon looks normal.
Break the device's digital relationships
Work through the systems that can continue to recognize or control the device:
- Microsoft environments: Remove the computer from Microsoft Entra ID, Active Directory, Intune, endpoint security consoles, and related device inventories.
- Google environments: Remove managed Chromebooks and computers from Google Workspace and confirm that account access no longer persists.
- Apple environments: Sign out of Apple ID and iCloud, disable Find My, and remove the computer from the organization's management systems.
- Security platforms: Revoke certificates, tokens, VPN profiles, endpoint registrations, and device-specific credentials.
- User applications: Sign out of browsers, email, password managers, finance software, collaboration platforms, and locally installed subscriptions.
- Licensing portals: Deauthorize Microsoft 365, Adobe Creative Cloud, engineering tools, VPN products, and any application with device-based limits.
Record each administrative action. A technician should be able to show when the device was removed from management, who performed the action, and what system was checked. Complete a final audit by searching the relevant consoles for the serial number, hostname, asset tag, and assigned user. The computer should no longer appear as an active endpoint, sync client, or authentication target.
Handle ownership and mobile equipment carefully
For personally owned equipment used in a business environment, transfer approved files first, sign out of accounts, and disable Find My Device or comparable services only after ownership and retention requirements are confirmed. Keep the device offline and mark it as pending destruction or decommissioned in the asset register.
The chain-of-custody record should identify the owner, date, technician, sanitization method, and next destination. That record connects account retirement with physical disposition, preventing an orphaned device from disappearing between the help desk and the loading dock.
Don't improvise with lithium batteries
“Remove the battery before recycling” is incomplete advice for modern laptops and tablets. Internal lithium-ion and lithium-polymer batteries may be secured with adhesive, clips, or concealed connectors. Improvised removal can puncture a cell, damage the display, or create a short circuit.
For intact equipment, power it down, leave the internal battery installed, and disclose the battery condition to the recycler. Waste and recycling facilities in the United States and Canada reported 448 publicly reported fires in 2025, compared with a prior record of 430 and an annual average of 360, according to 2025 recycling facility fire data. The report describes the 2025 total as nearly 25% above that annual average.
Isolate swollen, dented, leaking, hot, recalled, or damaged batteries. Label the equipment clearly with SWOLLEN BATTERY, DAMAGED, or DO NOT POWER ON. Don't place suspect devices in standard equipment bins, mail them in unreviewed packaging, or stack items where pressure can reach the compromised cell.
External batteries need protected terminals. Use manufacturer-approved caps, original slots, or nonconductive padding. Record the battery chemistry, location, condition, and whether the computer powered on during staging.
If a battery is punctured, hissing, smoking, or heating rapidly, move people away, isolate the area only when it can be done safely, and contact emergency services or the recycler's hazardous-materials team. Intact devices should remain intact. Damaged batteries require specialized handling.
Labeling, Packaging, and Transport Logistics
Treat the pickup as a controlled logistics event. Each computer should carry a unique asset or custody ID that matches the inventory, along with the model, serial number, disposition destination, sanitization status, and battery condition.
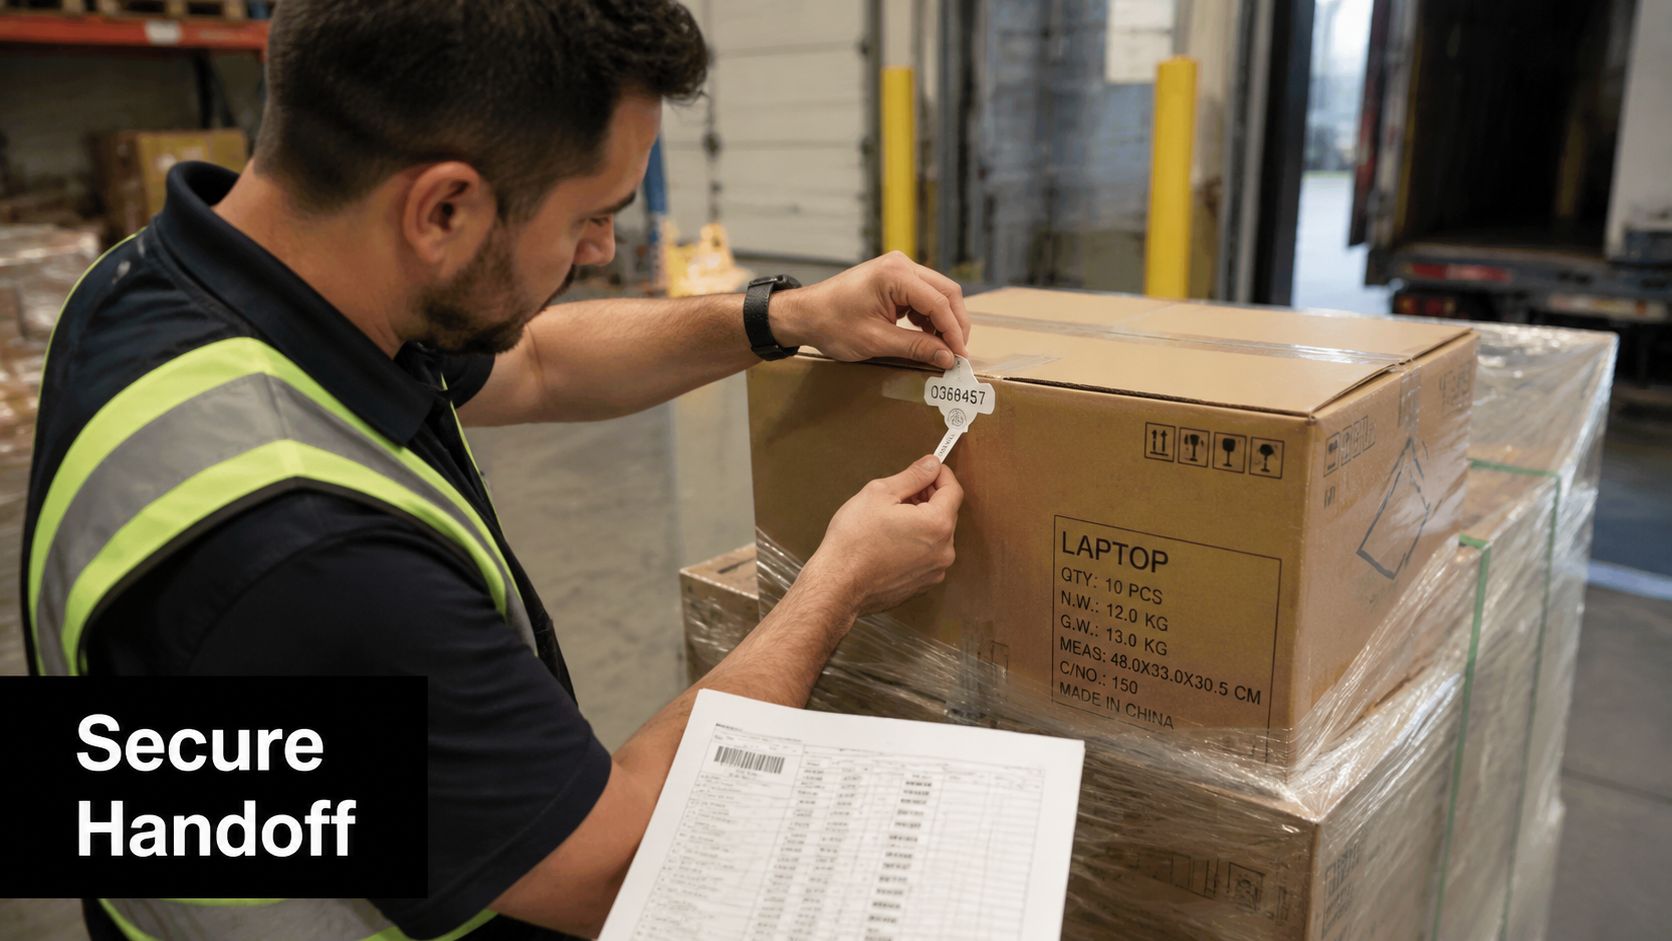
Remove unnecessary personal labels, but don't alter the manufacturer's serial number. Use tamper-evident seals or serialized security tags for sensitive equipment, and keep the signed manifest separate from the load.
Pack for the actual trip
Use original cartons when they're available. Separate laptops with dividers, immobilize desktops and monitors, and protect screens from crushing. Don't use loose plastic bags, exposed USB drives, or unsecured password notes inside boxes.
Count accessories independently. Label power supplies, docks, cables, CDs, USB drives, and memory cards, or remove them from the shipment after confirming they aren't part of the disposition ticket. A small accessory can still contain data or create a manifest discrepancy.
Confirm pickup, freight, insurance, pallet, battery, dock, and receiving-window requirements before loading. At collection, scan every sealed container and record the seal number, carrier or vehicle, departure time, destination, and signatures. Chain-of-custody documentation should follow the equipment from staging through final receipt.
Certificates and Compliance Documentation
A compliant recycling transaction should produce more than a truck receipt. Your records should connect each physical device to its sanitization result and final disposition.
The core document is a Certificate of Data Destruction that identifies the serial number or asset ID, sanitization method, processing date, result, and responsible technician. If the provider uses different methods across a mixed load, the certificate should show the method applied to each relevant device or storage component.
Request a separate Certificate of Recycling or Disposition showing where the equipment went after data processing and whether the outcome was reuse, resale, parts recovery, recycling, or destruction. Keep the original inventory, signed pickup manifest, receiving confirmation, destruction record, and downstream documentation together.
| Document | Purpose | Regulatory Tie-In |
|---|---|---|
| Certificate of Data Destruction | Proves the storage media was cleared, purged, or destroyed | Supports the FTC Disposal Rule and documented security controls |
| Certificate of Recycling or Disposition | Records the equipment's final processing outcome | Supports environmental and asset-disposition accountability |
| Per-Device Audit Trail | Connects serial number, owner, technician, date, and method | Supports internal audit, incident review, and regulated workflows |
| Chain-of-Custody Manifest | Shows each transfer from staging to receipt | Supports reasonable disposal measures and custody verification |
For healthcare organizations, the HHS OCR disposal guidance ties electronic media containing protected health information to clearing, purging, or destruction and references NIST SP 800-88 Rev. 1. The guidance also requires paper and hard-copy media to be destroyed so it can't be read or reconstructed.
A generic batch certificate is a warning sign. So is a document with no serial numbers, no method, no date, or no technician identification. The Certificate of Data Destruction explanation can help your team define the evidence it should request before approving a provider.
Documentation doesn't erase liability by itself. It gives your organization a defensible record showing that people applied a defined process, verified the result, and controlled the handoff.
Choosing a Certified ITAD or Recycler
Select the provider before the equipment reaches the loading dock. Ask for current R2v3 or e-Stewards certification details, audit dates, processing locations, downstream vendor disclosures, insurance certificates, and evidence of financial and operational stability. If data destruction is part of the scope, verify whether the provider has NAID AAA capability and whether it can perform onsite or offsite destruction.
Check certifications directly through the ASI and e-Stewards registries. Marketing copy isn't certification evidence, and a logo on a website doesn't tell you whether the location handling your assets is covered.
Vet the handoff, not just the price
Use these questions during vendor review:
- Can you show a sample certificate? Confirm that it includes serial numbers, method, date, and responsible personnel.
- Who handles downstream processing? Require disclosure and approval for subcontractors or offshore movement.
- How is custody tracked? Ask how the provider records pickup, transport, receiving, sanitization, and final disposition.
- What happens to damaged batteries? Require a defined path for swollen, leaking, recalled, or otherwise compromised units.
- What logistics do you provide? Confirm loading, pallets, freight, insured transport, and receiving procedures.
Reject verbal-only quotes, vague certificate language, undisclosed downstream processing, and any provider that can't explain its chain of custody. Request the pickup workflow and certificate samples before committing inventory.
Beyond Surplus coordinates commercial electronics recycling, IT equipment disposal, secure data wiping, hard-drive shredding, asset recovery, product destruction, and data center decommissioning with documented custody and disposition records. Visit Beyond Surplus to request a business pickup workflow and confirm the certificates your organization will receive.


